How to Grow Potatoes in Bags Step by Step
Grow potatoes in bags or containers: chitting seed potatoes, soil, earthing up, watering and harvest. Big yields in a small space with no digging required.

In this article
Growing potatoes in bags is one of the most satisfying kinds of container gardening: they take up little space, you don't have to dig, and at harvest time you just tip out the bag and rummage through the soil like you're hunting for treasure. With a fabric grow bag or a deep container, you can get a good crop on a sunny balcony or patio.
| Fact | Potatoes in bags |
|---|---|
| Container | Fabric grow bag 8-10 gal, with drainage |
| Seed | Chitted seed potatoes |
| Technique | Earth up as it grows |
| Light | 6+ h of sun |
| Watering | Consistently moist |
| Harvest | 10 weeks (new) or dead-back (maincrop) |
Why a bag works so well
A potato produces tubers along its buried stem. A tall bag lets you keep adding soil (earthing up) as the plant grows, so more potatoes form up the height of the bag. Drainage is also excellent, which avoids the rot typical of waterlogged ground.
Chitting the seed potatoes
Start with certified seed potatoes, not supermarket ones (those are often treated and can carry disease). A few weeks before planting:
- Set the potatoes in egg cartons, with the "eyes" facing up.
- Keep them somewhere cool and bright.
- Wait for short, green sprouts about half an inch long.
This step, called chitting, gives you an earlier, better crop.
The bag and the soil
- Use a fabric grow bag of at least 8-10 gallons, or a container 16 inches or more deep, always with drainage.
- Fill only the bottom third with a loose, rich mix: potting soil and compost.
- Place 2-3 chitted potatoes per large bag, sprouts up, and cover with about 4 inches of soil.
Earthing up: the key to a good crop
When the stems reach about 6-8 inches, cover them with more soil, leaving only the tips poking out. Repeat this earthing up every couple of weeks until the bag is full. Each buried layer generates new tubers, so good earthing up multiplies the harvest.
Sun and watering
- Sun: the more the better; at least 6 hours of direct sun a day.
- Watering: bagged potatoes are thirsty. Keep the soil consistently moist, not soggy, especially when they flower and the tubers swell. In summer that may mean watering daily.
Feeding
A good dose of compost at planting usually covers the start. Once flowering begins, a fertilizer rich in potassium (like a tomato feed) helps the tubers bulk up. Avoid excess nitrogen — it gives lots of leaves and few potatoes.
When and how to harvest
You have two options depending on the variety and your patience:
- New (early) potatoes: about 10 weeks after planting, when the plant flowers. Small, tender tubers.
- Maincrop potatoes: wait until the plant yellows and dies back completely, a sign the tubers have matured and the skin is firm.
To harvest, simply tip the bag onto a tarp and rummage through. Let maincrop potatoes cure for a couple of days somewhere dark and dry before storing.
Common problems
- Green potatoes: they were exposed to light; don't eat them (they contain solanine) and earth up better next time.
- Few tubers: too much nitrogen, not enough sun or earthing up.
- Wilted, rotting plants: overwatering or poor drainage.
- Spotted leaves and blight: too much moisture on the foliage; improve airflow.
Want another easy root crop to grow alongside your potatoes? Try carrots in pots. And if your plants are looking off, upload a photo to our AI diagnosis tool.
Related articles
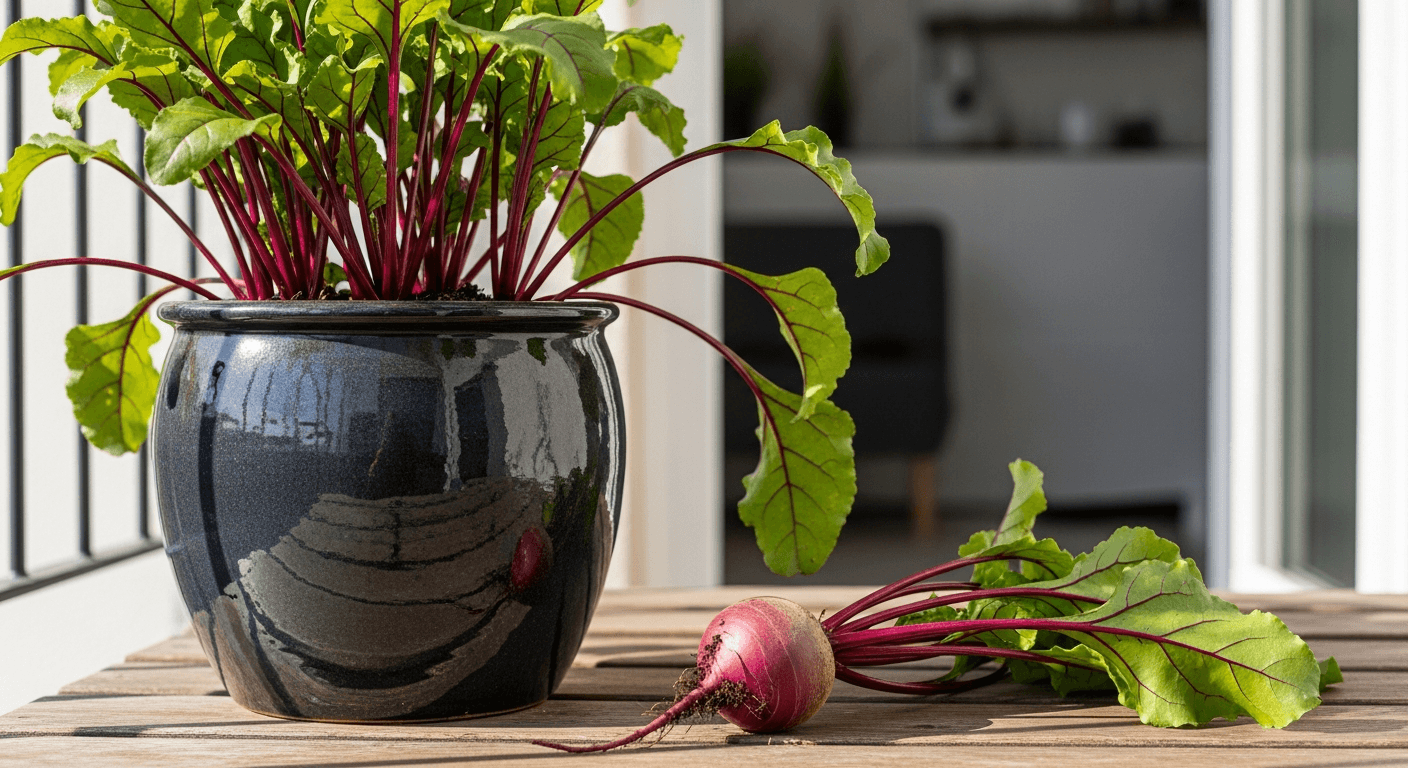
How to Grow Beets in Pots (Roots and Leaves)
Grow beetroot in pots: pot depth, thinning seedlings, steady watering and harvest. Discover that the leaves are edible too and absolutely delicious.
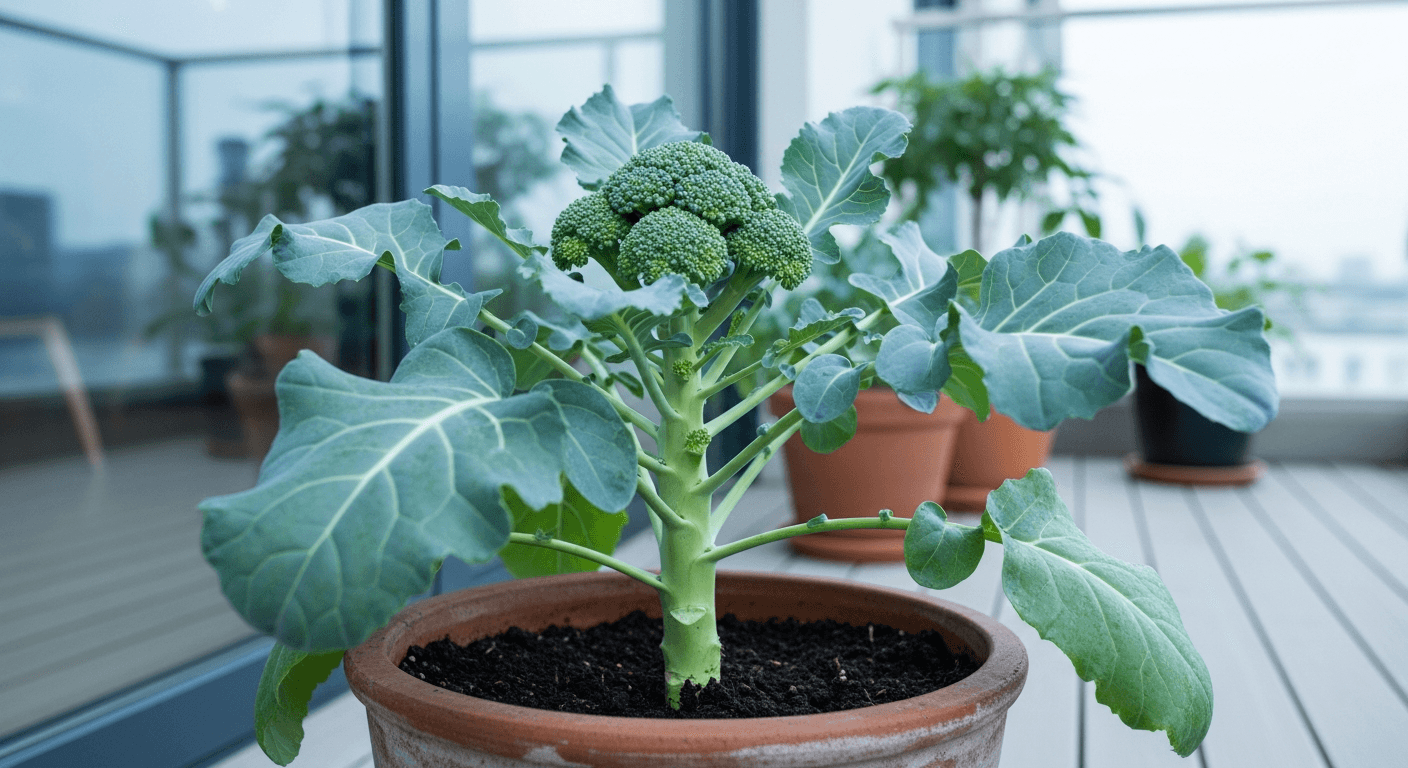
How to Grow Broccoli in Pots Step by Step
Grow broccoli in pots: a cool-season crop, a deep pot, sun, watering and harvesting the central head plus side shoots. Avoid the common pests and mistakes.

How to Grow Eggplant in Pots Step by Step
A guide to growing eggplant (aubergine) in pots: pot size, warmth and sun, staking, watering, feeding and when to harvest the glossy fruit. Great for balconies.