New Plant Home: What to Do in the First Two Weeks
A guide to acclimating a new plant: pest inspection, quarantine, when to repot and how to avoid stress so it settles in healthy and starts to thrive.
In this article
- Step 1: inspect before it comes in
- Exactly where to look
- What to do if you find bugs
- Step 2: a two-week quarantine
- Step 3: don't repot right away
- Step 4: choose the spot and ease it in
- Light: start bright, then dial down
- Temperature and drafts
- Step 5: water carefully
- What's normal during the transition
- Signs you can ignore
- Signs that call for action
- Mistakes to avoid
- When to ask for help
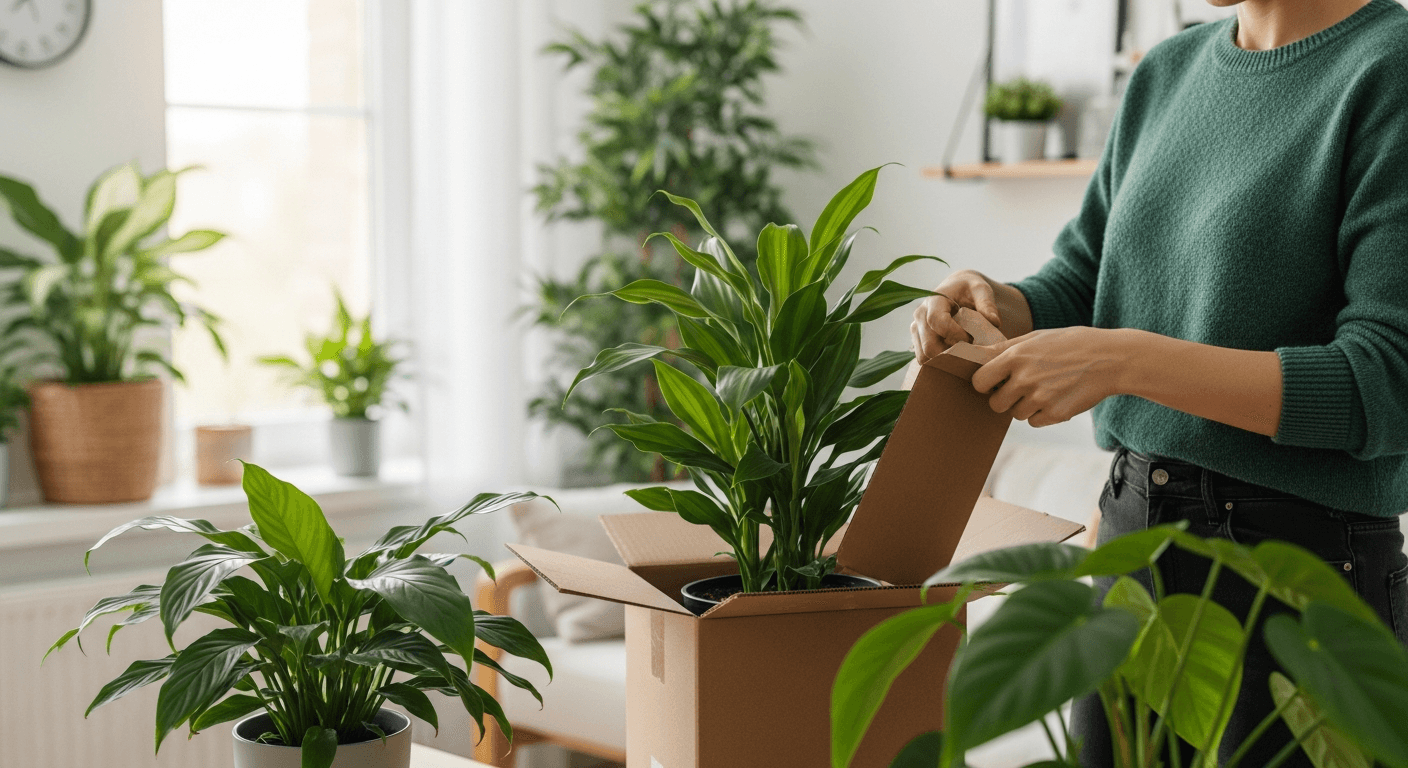
To acclimate a new plant, check it for pests before it crosses your doorstep, keep it away from your other plants for about two weeks, and hold off on repotting for two to four weeks. Do that and you've covered 90% of the job. What usually goes wrong is impatience: the plant comes from a greenhouse with tightly controlled light, humidity and temperature, and it needs time to adjust to your living room. Acclimating it properly prevents the classic nasty surprises — dropped leaves, a pest that spreads to the whole shelf, or stress that takes months to shake off.
Step 1: inspect before it comes in
Exactly where to look
Before setting it next to your other plants, look it over carefully in good light:
- The undersides of the leaves, where spider mites, aphids and whitefly hide.
- The leaf joints and stems, a favorite spot for mealybugs.
- The surface of the soil, for fungus gnats or mold.
- Any visible roots in the drainage holes — they should look white or pale.
What to do if you find bugs
If you spot pests, don't mix it in with the others yet: isolate it in another room and treat it first. Cottony white blobs in the leaf joints are the most common find on nursery plants, and the full treatment is in our guide on how to get rid of mealybugs. An infested plant doesn't rejoin the collection until two weeks pass without a single bug in sight.
Is your plant looking off and you are not sure why?
Free AI diagnosisStep 2: a two-week quarantine
Even if it looks healthy, keep it apart from the rest for about two weeks. Many pests lay invisible eggs that take days to hatch, and a single infested plant can spread to your whole collection. Put it in a separate room or, at the very least, a few feet away from the others, and check it every few days.
A two-week quarantine is the cheapest insurance against a pest that wrecks your entire collection.
Step 3: don't repot right away
This is the most common mistake. The plant is already stressed by the change of environment; an immediate repot adds a second injury (disturbed roots) at the worst possible moment. Wait two to four weeks unless the soil is completely spent or roots are bursting out. When the time comes, follow the steps in our guide on how to repot a plant.
The nursery pot, with its drainage holes, is perfect for these first weeks. Use the waiting time to get the right mix ready: our guide on which potting soil to use for each plant breaks down the recipe by root type.
Step 4: choose the spot and ease it in
Light: start bright, then dial down
Light in your home will almost always be lower than in the greenhouse, so it pays to start high and work down. Put it somewhere bright with indirect light, even if its final home is darker, and avoid direct sun for the first few days: after the gloom of transport, leaves scorch easily. If you're not sure how much light each corner actually gets, our guide to light for indoor plants explains how to judge it without a meter.
Temperature and drafts
Keep it well away from radiators, air-conditioning vents and drafts from doors and windows. Sudden temperature swings are the quiet cause of a lot of leaf drop on new arrivals, especially if you bought in winter and it rode home in a cold car.
If you're moving it to a darker spot, do it gradually over the course of a week.
Step 5: water carefully
Don't water the moment it arrives "just in case." Check the soil moisture with your finger: many nursery plants arrive with the soil still damp. Water only when it asks for it and let the excess drain away. Overwatering a newly arrived plant — with low light and little growth — is the perfect recipe for root rot.
What's normal during the transition
Signs you can ignore
Don't panic if, in the first weeks, you see:
- A few old or lower leaves dropping: the plant adjusting to the new light.
- Stalled growth: it's rooting in and settling, not pushing new leaves.
- Slightly limp leaves that perk back up after watering.
Signs that call for action
What is not normal is mass leaf drop, spots spreading from leaf to leaf, or bugs on the move. Nor is a stem that turns soft at the base: that usually points to overwatering from day one, and it's worth checking the roots using our guide on root rot.
Mistakes to avoid
- Fertilizing on day one: nursery soil already has nutrients, and feeding adds stress.
- Moving it every couple of days in search of "the perfect spot."
- Misting the leaves heavily, thinking it needs instant humidity.
- Skipping quarantine out of impatience or lack of space.
When to ask for help
If after two or three weeks your plant keeps declining — yellowing leaves that spread, soft stems, or a pest that won't quit — it's worth diagnosing the cause. Take a photo and run it through our AI diagnosis tool to identify what's wrong and how to act. If it has already shed half its leaves, the rescue protocol is in how to revive a dying plant.
With a timely inspection, two weeks of patience and careful watering, your new plant will sail through the change and start growing strong in its new home.
Related articles
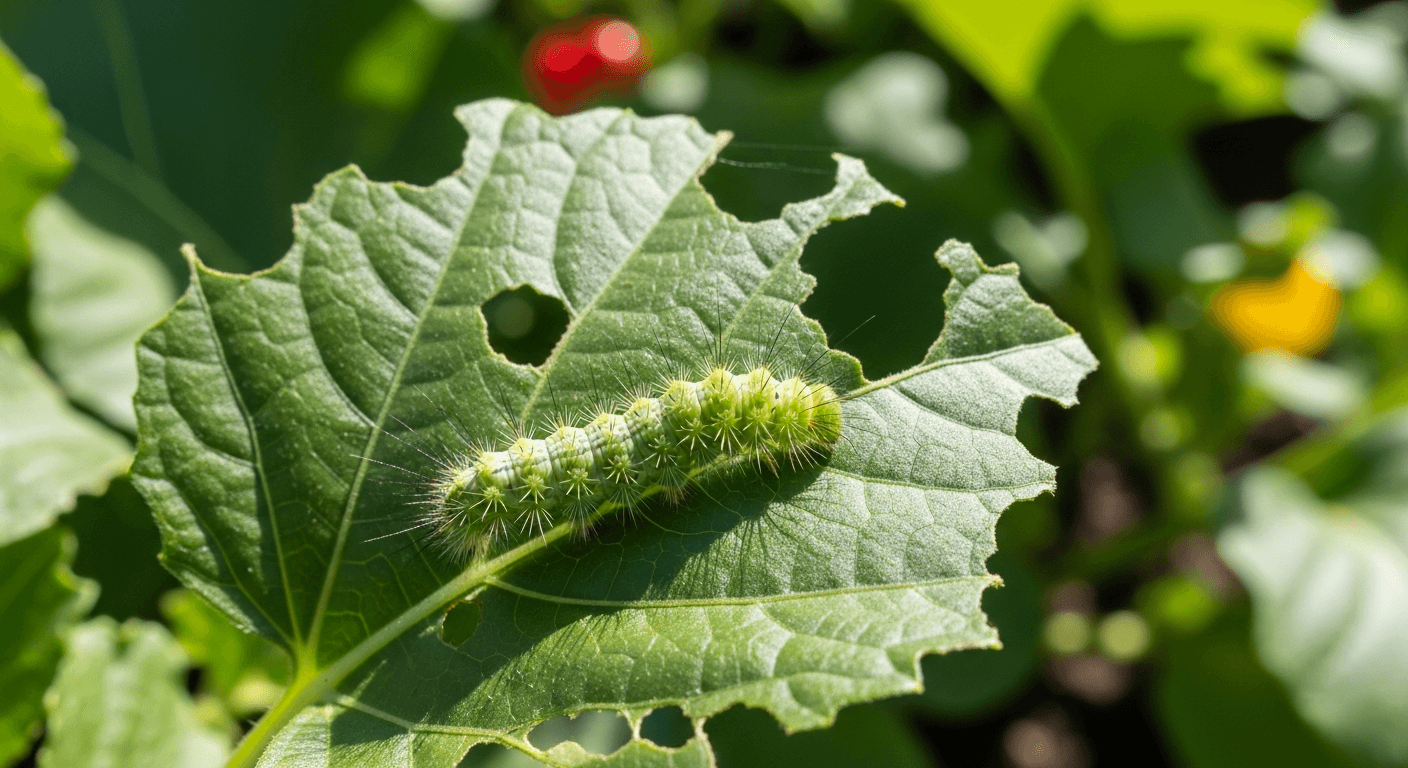
Caterpillars on Plants: How to Identify and Get Rid of Them
Caterpillars eating garden leaves: how to spot the holes and droppings, handpick them, and treat with Bacillus thuringiensis (Bt) without harsh chemicals.
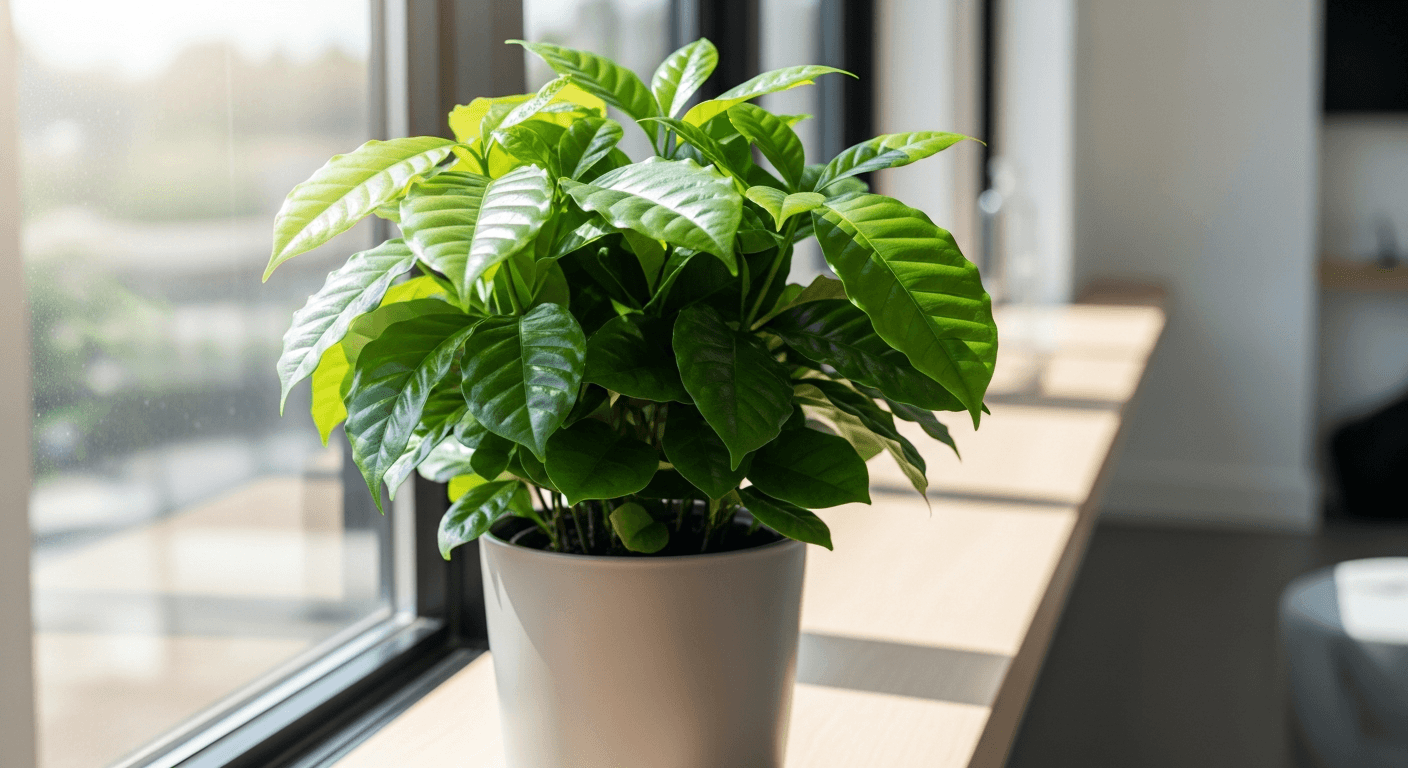
Coffee Plant Care: Growing Coffea at Home
Coffee plant (Coffea arabica) care as a houseplant: bright indirect light, humidity, watering, and whether you can really harvest your own coffee beans.
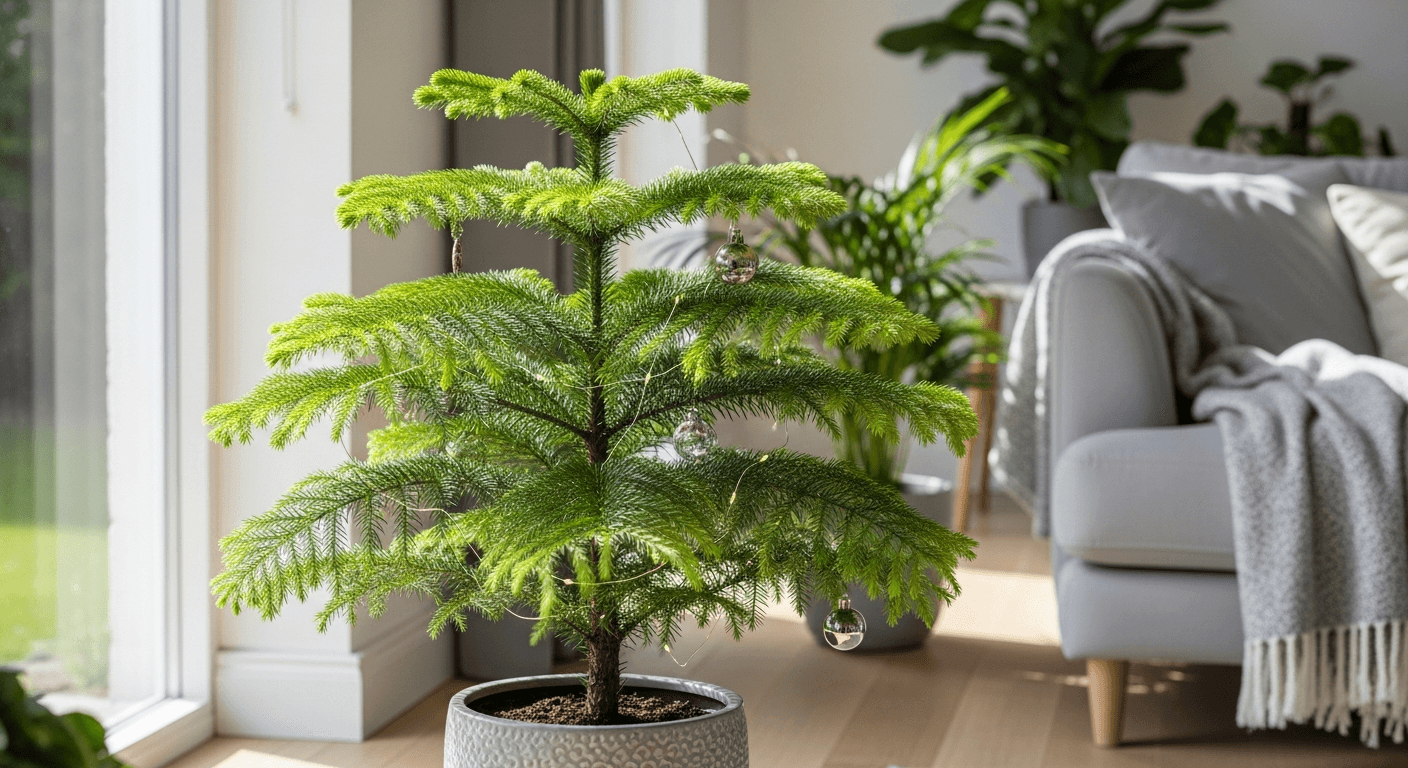
Norfolk Island Pine Care: The Living Christmas Tree
Norfolk Island pine (Araucaria heterophylla) care: light, watering, humidity and why its branches turn brown and drop. The living indoor Christmas tree guide.
Trouble with your plant?
AI diagnosis